[CASIO ROYALE] Short Introduction of Films on Display
Jan 06,2024 | SKXMOD
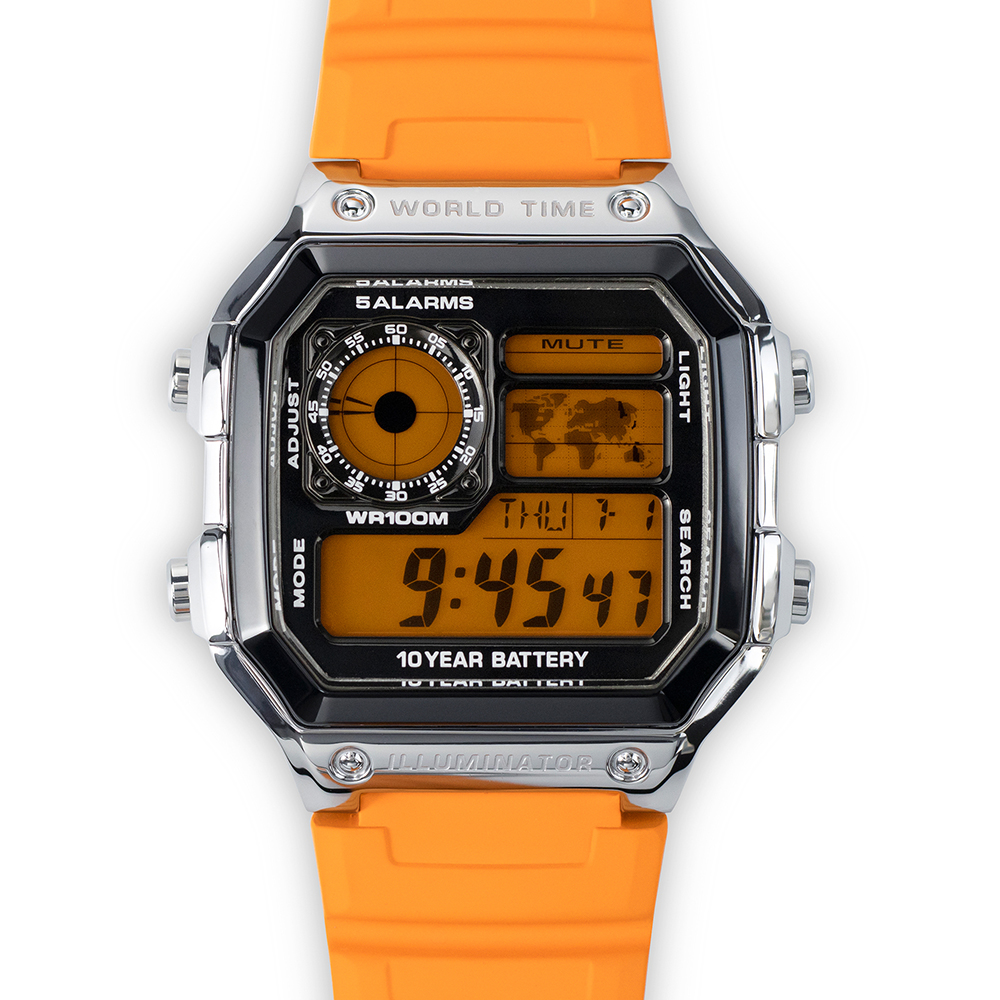
If we try to achieve special/colorful appearance on the Royale's display.
Extracting and modifying the display is an inevitable process.
We can generally dissecting it into three layers of construction as below.

Positive/negative films are applied to the top layer.
Unlike other series, Casio adapted a positive look all over the Royale family.
That being the AE1200/1300 and WS-1600 series.


So the inverted look of negative mod is quite rare.
This particular film will only show the inverted part.
Meaning backlight and bottom layer will only go through there.

(Negative with red backlight)

(Negative with light blue backlight)


(Negative with red bottom coloring film and red backlight)
With singular layer or both layer changed.
The combination and appearance is limitless.
Thought not always successful or as expected with the result.
Plus the backlight will also be slightly deviated.
See this example, it was a white backlight with blue coloring film combination.
But the backlight is deviated to a blue-ish color.

But if we base on a certain direction,
coloring film with same color backlight only,
or that and a negative film on top.
This will hardly look anywhere bad.
Then how should one perform this?
Usually if you buy these polarizing films from our store.
They are pre-cut to the suitable size and already at the best viewing angle.
First, extract the display from the plastic module bracket.
Then, determine which layer you are going to replace.
In this part, we will take the bottom coloring film as example.
Similar procedures can be seem here to the top positive/negative mod.
credits: @watchNcarry
Flip to the back side of the display,
after it's taken our of the module bracket.

Use a sharp knife to gently peel this silver layer off.
And remember not to touch the panel at this moment.
Or dust and fingerprints will leave on there.
And to peel off the silver layer off only.
NOT the layer below it as well.
Otherwise module is ruined.


Then find the silver side on our coloring film.
Peel off the protective layer, ready to apply.

Again, with steady hands.
Apply it with the color side facing you, to the panel.
And remember to push out air bubbles after so.

Then there is another layer of protective plastic.
For you to remove when all is ready to assemble again.


Similar process can be done with mesh mods.
When it's installed properly, they should look like below.
The mesh sheet or colored film is in the background and behind the numbers/texts.
But be sure to differentiate front and back side while installing.
The side with machined pattern and metal sheen is front,
and the side with rougher machining without sheen is back.

.jpeg?w=4000&h=3000)


