1. Choose the Right Option

2. Confirming Which Method to Install the Kit
2.1. Purchase and Install by Us
If the base module was purchased along from us. We offer such service free of labor charge. In that way you will have a completed build straight from unboxing ready to wear. This reliable timepiece will go through assembly in strict manner. As well as quality control process that eventually cost least amount of both time and effort on your end.
2.2. Purchase then Install by Your Local Professionals
Through local watch service and repair shop. Where the personnel is more experienced handling the difficulty of this modding kit. Also professional equipment to test and make maintenance after the build is completed. Best ensure the kit has successfully installed.
Highly recommended if you already have the base watch.
2.3. Purchase and Install by Yourself
Proceeding on your own would be fairly challenging yet not impossible. However, there is still risk of damaging parts during assembly. And if so did happen for not following instructions in strict order. We are not responsible of any compensation for your wrong-doings.
Not recommended if you are new to watch repair/structure.
3. If Installing the Kit by Yourself
If you decided to take on this challenging task of modding on your own. Then please follow below suggestions to achieve better result when finished.
3.1.
The assembly environment requires a bright light source and of minimal dust.
3.2.
Throughout the entire assembly, make sure wearing finger-cot. Because the direct contact of internal parts, such as dial, hands, hour marker or chapter ring. It will leave stains hard to remove. Therefore leading to much prolonged and unnecessary process.
3.3.
Please read the instruction manual or tutorial video first. And carefully proceed by following our steps in strict order. Because different model from different series having different sequence of parts installation.
4. Difficulties During DIY Process
4.1.
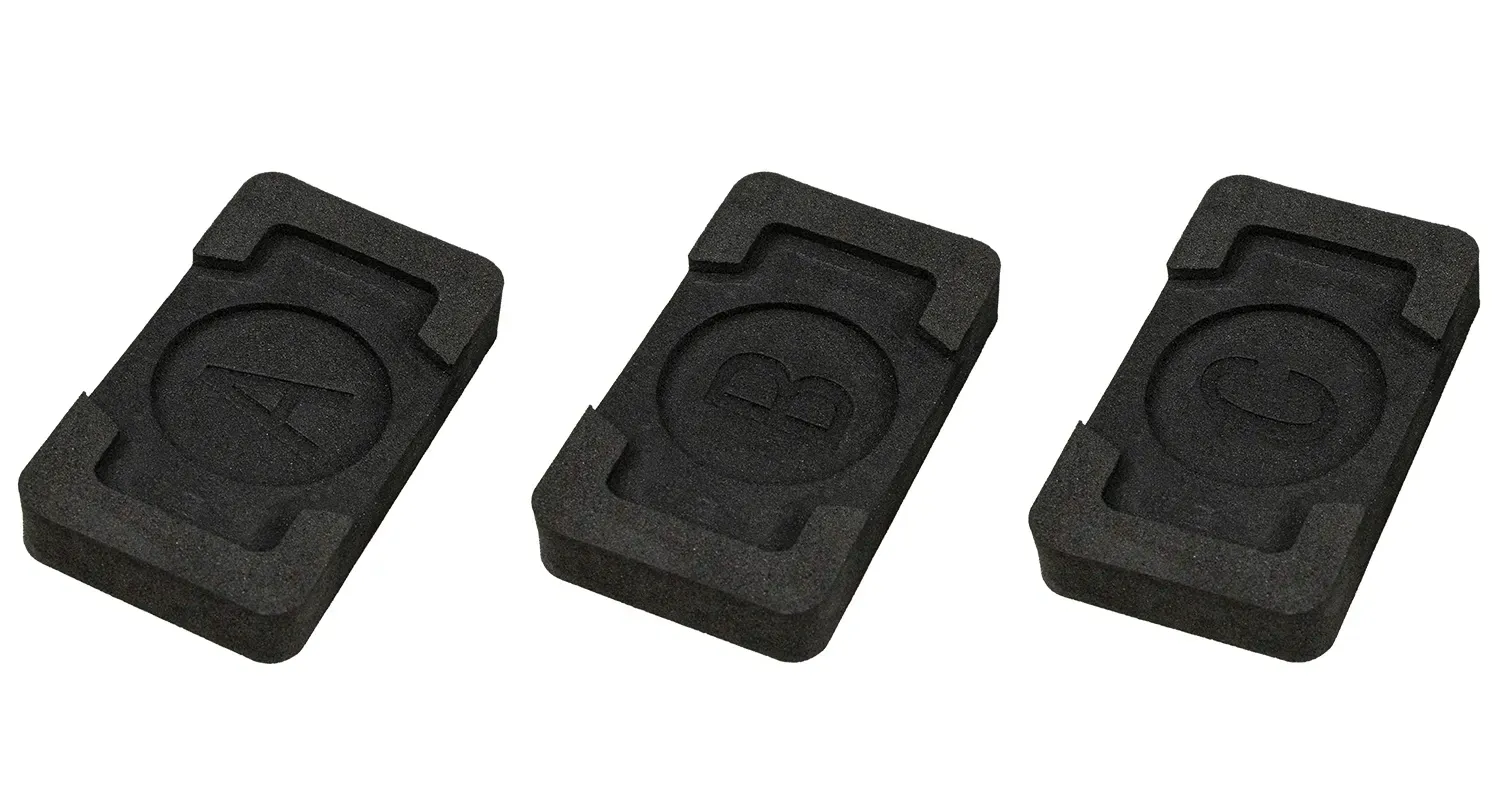
Choosing the right tool is very important during installation. However, we do provide a "Tool-less" option for those already own such tools. Where the general price would be more affordable. In this tool-less version only module holders are available.
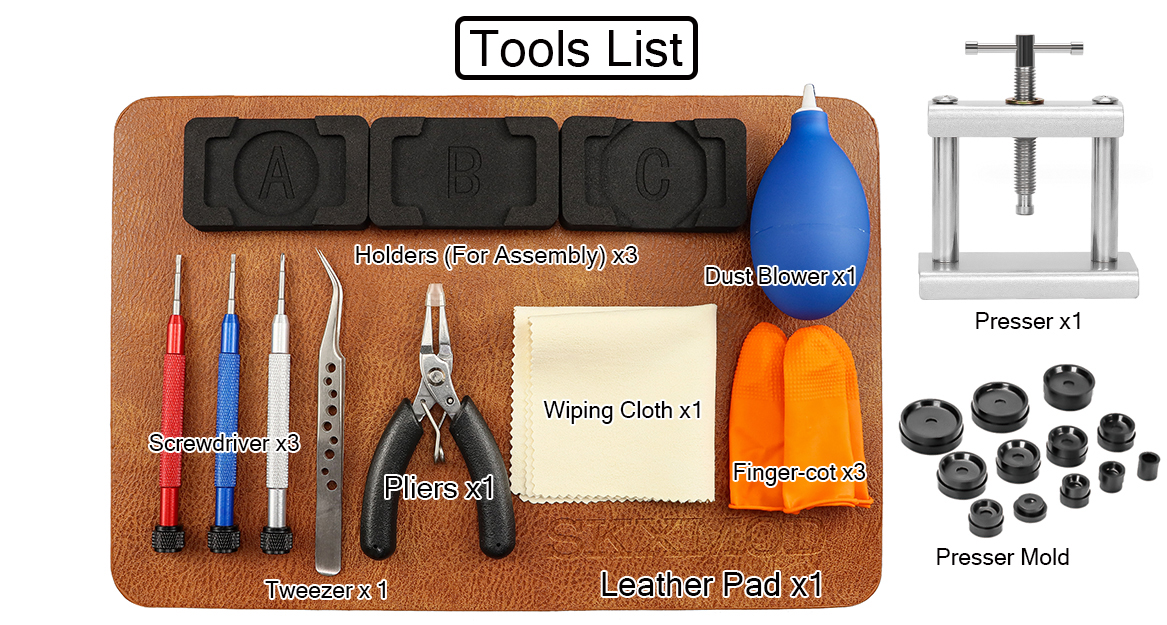
Each tool within the full set haves their own function. Screwdrivers are tackling screws on caseback and bezel. Tweezer is for picking up small object. Pliers are included to pinch and remove bolts/screws on the build. Wiping cloth and dust blower to clean inner/exterior stain and dust. Finger-cot to wear as protection against said impurities during assemble/disassemble process. Leather pad is the base to operate all maneuvers upon. Glass presser and accompanied molds are dedicated tools to remove glass on original case. And extract original parts, such as chapter ring or hour marker.
(But remember, neither of these options include hands removal/installation tools.)
4.2.
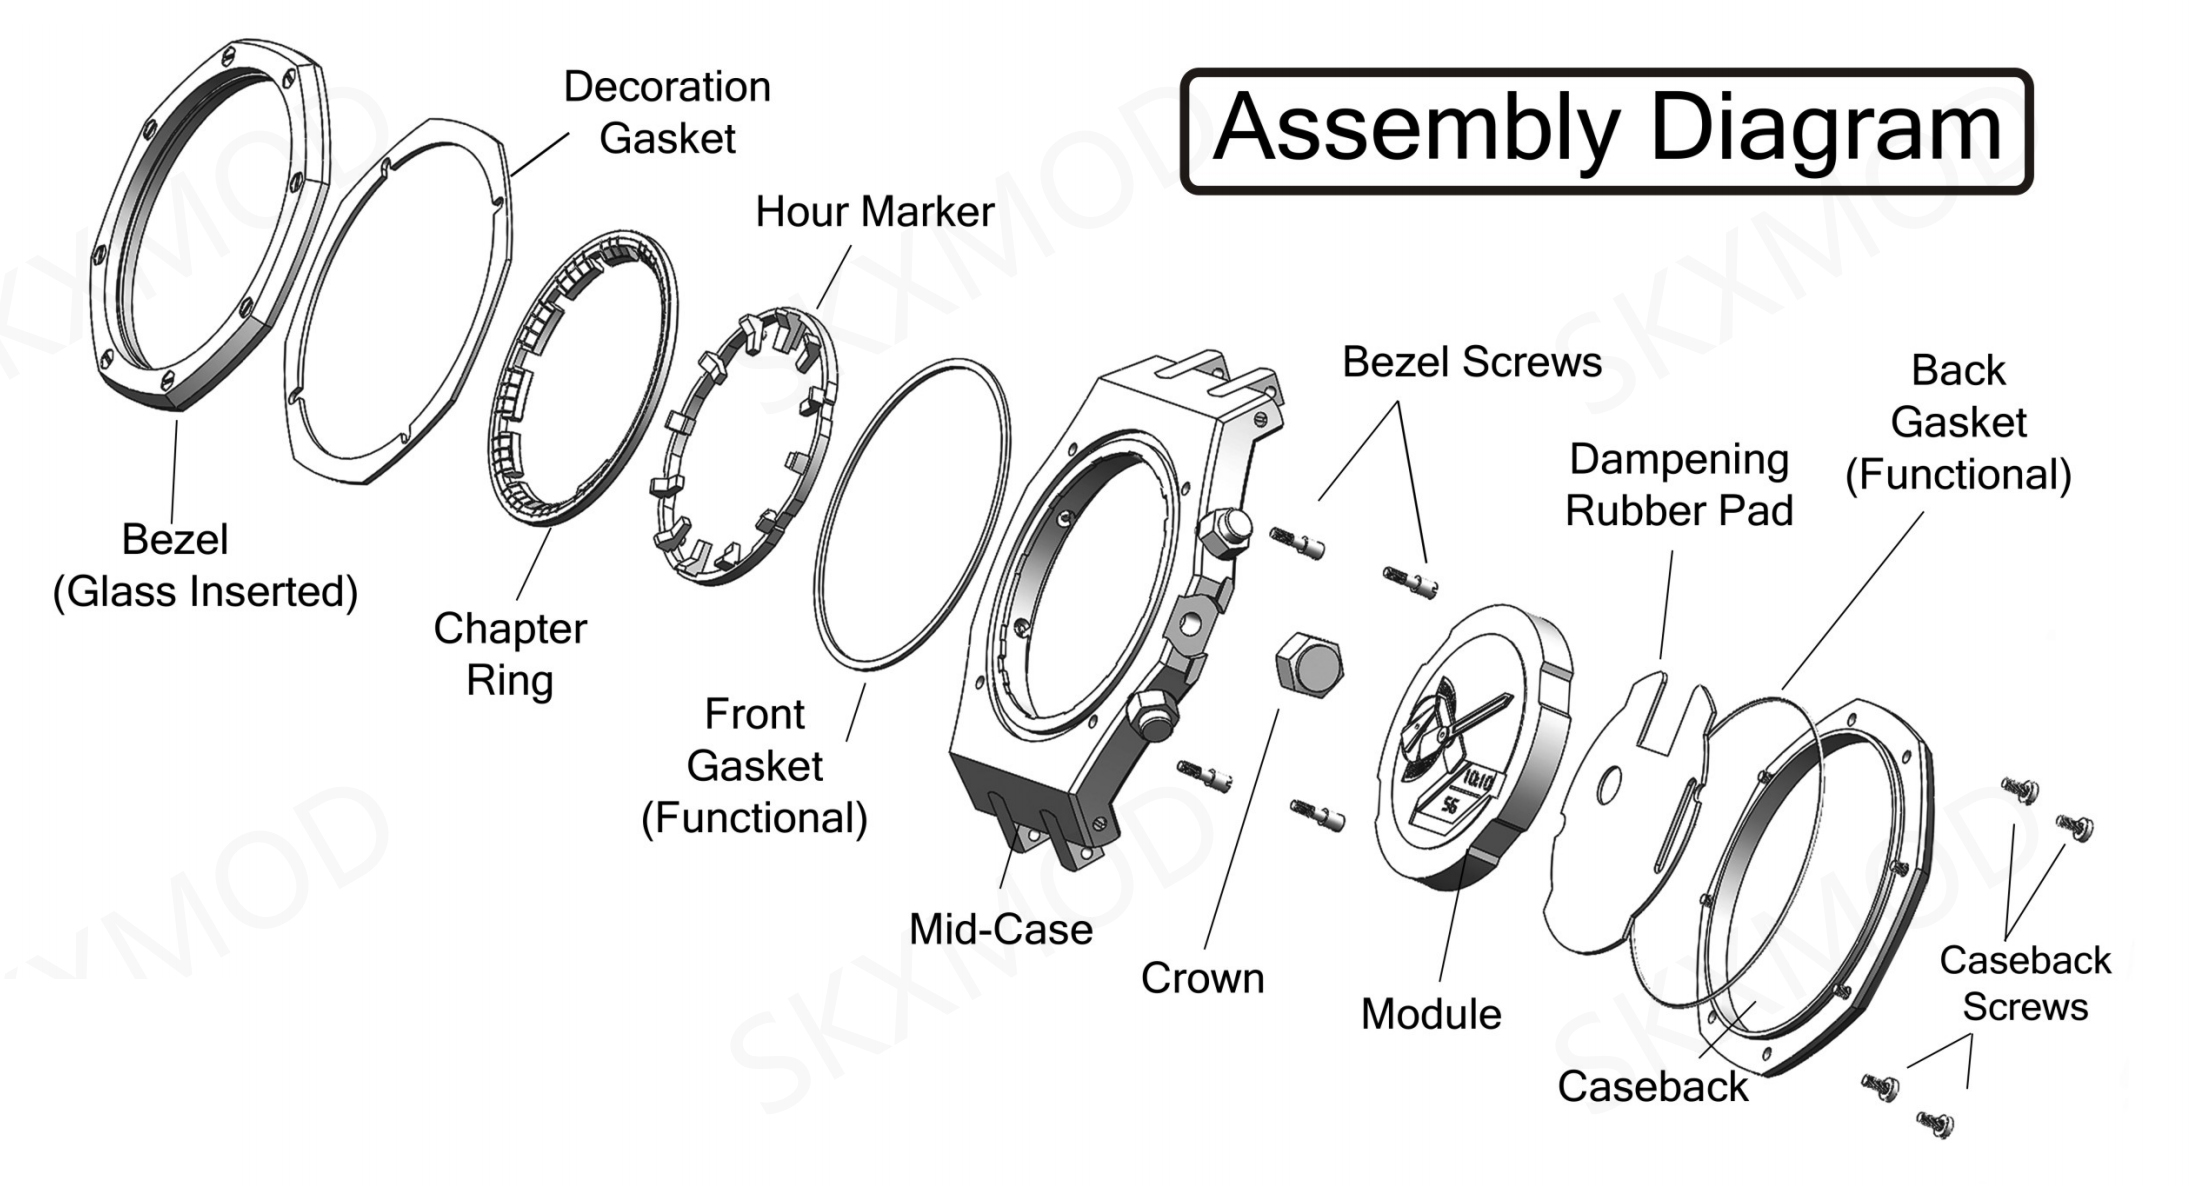
During the assembly, orientation of the parts is very important. We proceed by indicating 12 o'clock and 6 o'clock position of these very parts. Following is diagram for each component. Please read carefully for correct orientation.

4.3.
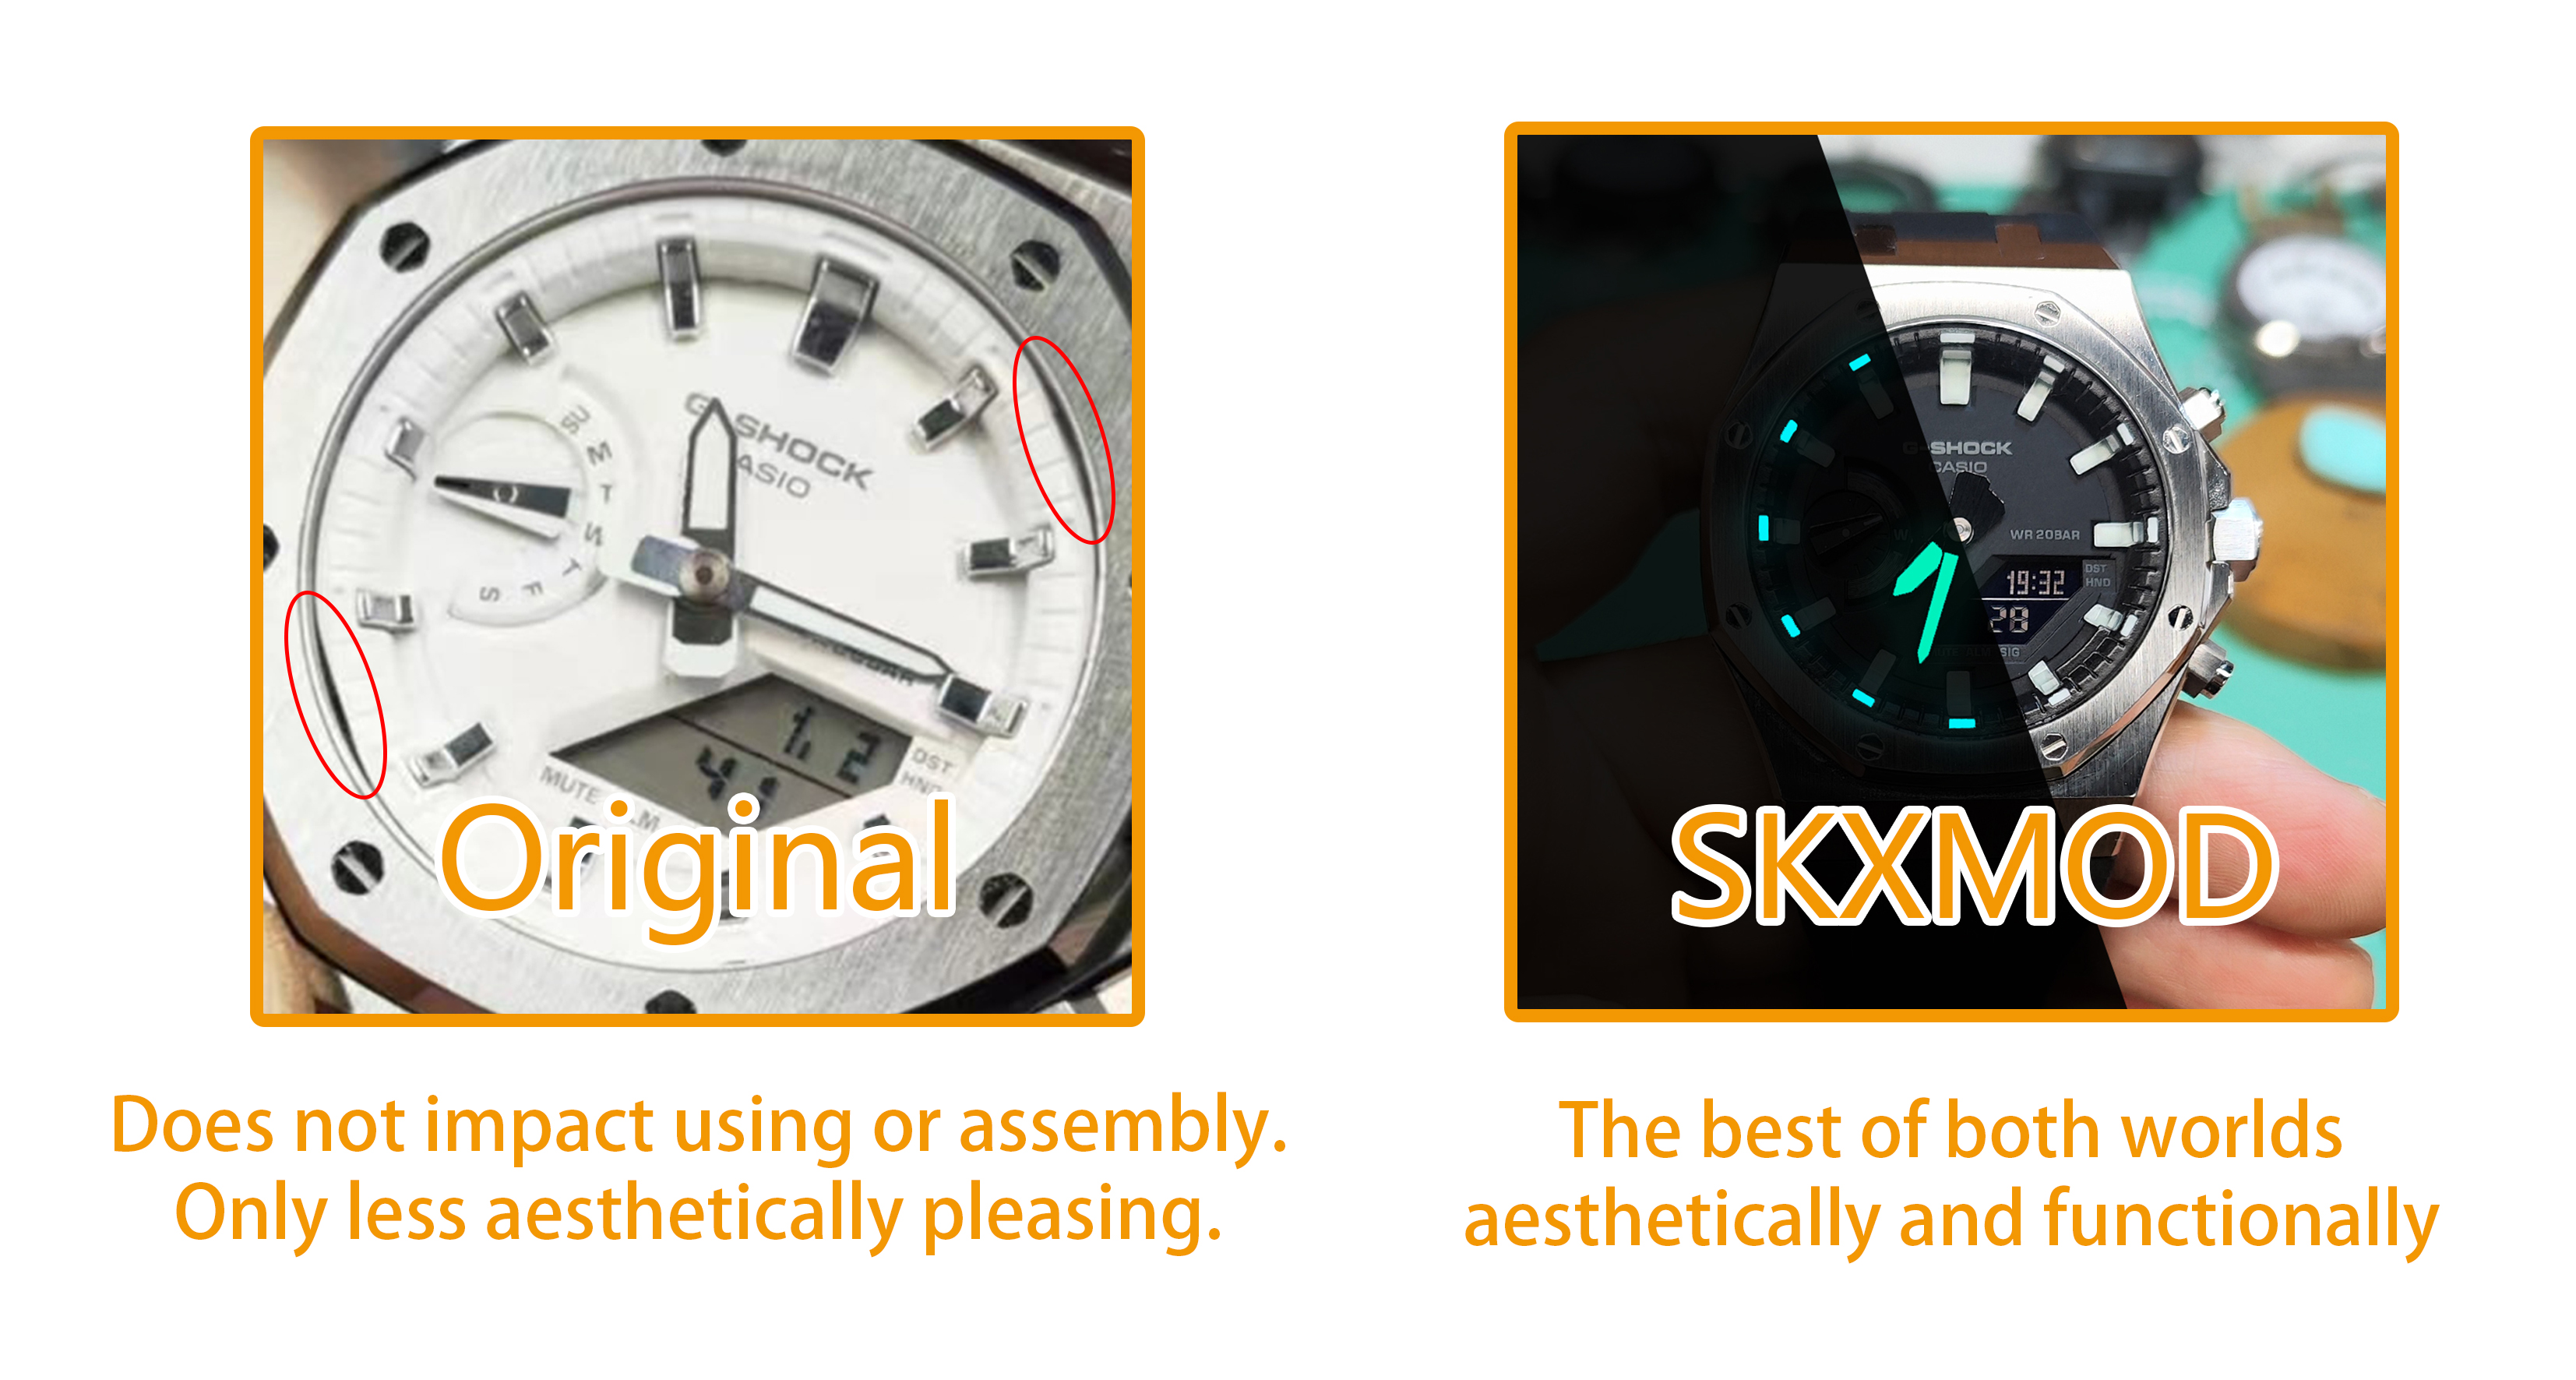
For GA and GMA-S series, original chapter ring has visible cut-out on 1 and 7 o'clock position. As an inevitable flaw from Casio's design, we suggest customers getting our version of enhanced ones. Where lume can be added in both green or blue, comes in various color also customizable. And most importantly, rim of the chapter ring is fully rounded.